
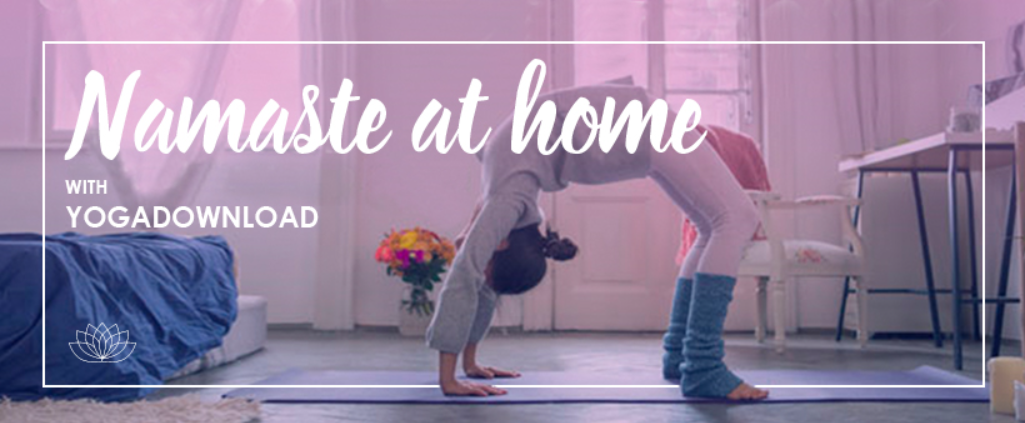
It is well known that a regular yoga practice boosts your flexibility and strength, but the real secret is the healing power that it unlocks in your body.
Adding these 11 yoga poses into your routine can be a game-changer for low back pain relief.

1. Crossed Forward Fold Pose
Benefits:
- Stretches the hamstrings, calves, and hips, which can alleviate back tension by improving lower body flexibility.
- Encourages spinal alignment, reducing lower back strain.
How to Do It:
- Stand with feet hip-width apart. Cross your right ankle behind your left ankle.
- Inhale to lengthen your spine, then exhale as you hinge at the hips to fold forward.
- Let your hands rest on the floor or grab opposite elbows for a deeper stretch.
- Hold for 30 seconds to 1 minute, then switch legs.
Modifications: Use blocks under your hands if you can’t reach the floor, or slightly bend your knees to reduce hamstring strain.
2. Kneeling Crescent Side Stretch
Benefits:
- Opens the side body and hips, which indirectly supports the lower back by balancing muscle tension.
- Improves circulation to the spine.
How to Do It:
- Start in a kneeling position. Extend one leg to the side with the foot flat on the floor.
- Reach the same-side arm overhead, leaning towards the extended leg to feel a stretch in the side.
Modifications: If kneeling is uncomfortable, you can do this from a seated position with one leg extended.

3. Standing Open Arm Twist
Benefits:
- Twists help decompress the spine, easing back pain.
- Enhances core strength, supporting the lower back.
How to Do It:
- Stand with feet shoulder-width apart, arms extended at shoulder height.
- Twist your torso to one side, allowing your arms to follow, one arm moving forward, the other back.
Modifications: For more support, perform this twist sitting on a chair.

4. Exalted Warrior Pose
Benefits:
- Strengthens the legs, core, and back muscles.
- Improves balance and concentration.
How to do it:
- Begin in a standing position, then step one foot back into a lunge, keeping your front knee bent at a 90-degree angle.
- Raise your arms overhead, clasp your hands, and extend your index fingers upwards, forming a straight line from fingertips to back foot.
Modifications: For those with balance issues, use a wall or chair for support.
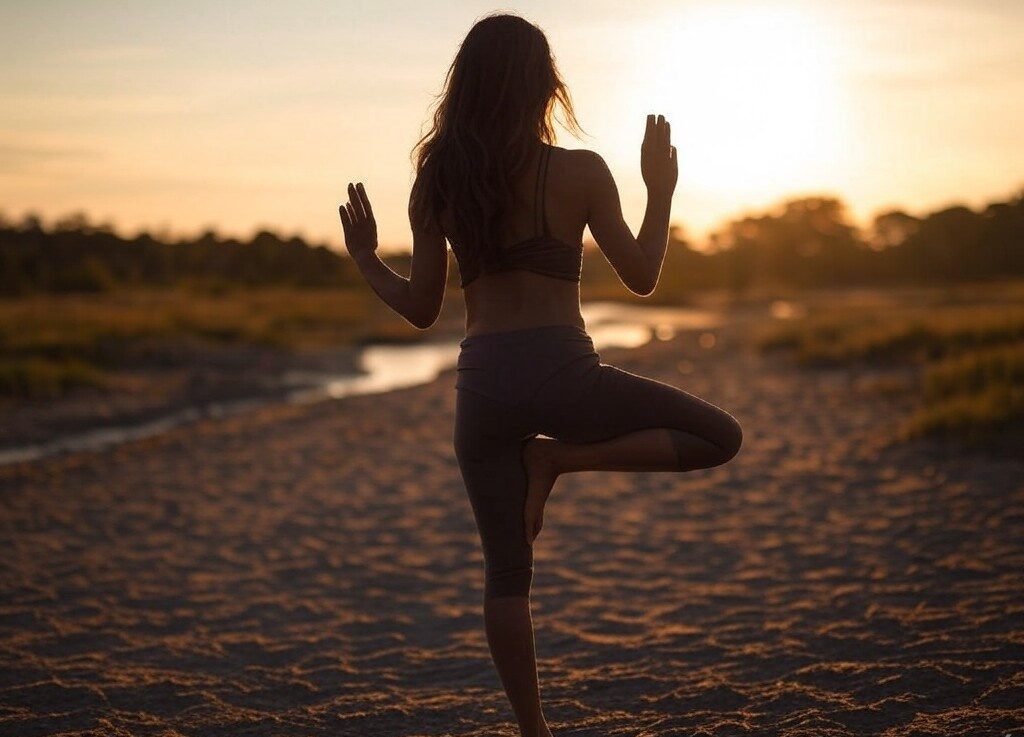
5. Tree Pose
Benefits:
- Improves balance, which can help with spinal alignment and reduce back strain.
- Strengthens the legs and core, supporting the lower back.
How to Do It:
- Stand on one leg, place the sole of the other foot on your inner thigh or calf (not the knee).
- Bring your hands to your heart center or stretch them overhead.
Modifications: Use a wall for balance or keep the raised foot lower on the standing leg.
6. Standing Figure 4 Pose
Benefits:
- Targets the piriformis muscle, which can contribute to sciatica and lower back pain.
- Opens the hips, reducing tension in the lower back.
How to Do It:
- Start by standing with feet hip-width apart; cross your right ankle over your left thigh to form a “4” shape, keeping your back straight.
- Bend your left knee to lower your hips, using a wall if needed for balance, and hold for 30 seconds to a minute while breathing deeply.
Modifications: If standing is challenging, you can perform this pose while seated. Simply sit in a chair, cross your right ankle over your left knee, and gently press down on the right knee to enhance the stretch.

7. Extended Side Angle Pose
Benefits:
- Stretches and strengthens the legs, knees, and ankles while promoting spinal flexibility.
- Helps to align the torso and spine, easing back pain.
How to Do It:
- Start in a wide stance, turn one foot out 90 degrees, bend that knee.
- Extend the same-side arm down inside the bent knee, reach the other arm up and over your head.
Modifications: Use a block under your lower hand if reaching the floor is difficult.
8. Half Moon Pose
Benefits:
- Enhances balance and core strength, aiding back support.
- Stretches the entire side of the body, including the spine.
How to Do It:
- From a standing forward fold, place one hand on the ground (or a block), lift the opposite leg parallel to the floor, and extend the top arm up.
Modifications: Keep the raised leg lower or against a wall for support.

9. Revolved Half Moon Pose
Benefits:
- Combines the benefits of twisting and balancing, deeply engaging the core and spine.
- Increases spinal mobility, beneficial for back pain.
How to Do It:
- Begin in half moon, then twist your torso to bring the opposite hand to the floor or block, extending the other arm towards the ceiling.
Modifications: Practice near a wall or keep the back foot lightly touching the ground.
10. Ninja
Benefits:
- Strengthens the upper body, core, and legs, supporting back health.
- Improves focus and balance, reducing stress on the back.
How to Do It:
- From a lunge, place both hands on the floor, twist your torso, and hook one elbow outside the opposite knee. Lift both feet off the ground.
Modifications: Start with the back knee down and only lift one foot.

11. Pyramid Pose and Revolved Pyramid
Benefits:
- Deeply stretches the hamstrings and calves, which are often tight in those with back pain.
- Revolved version adds a spinal twist, aiding in spinal health.
How to Do It:
- Step one foot back, square your hips, and fold over the front leg. For the revolved version, twist towards the front leg, extending one arm down and the other up.
Modifications: Use blocks for support or slightly bend the front knee.
Regular practice of these these 11 yoga poses is excellent for those looking to alleviate hip and lower back pain.
Always listen to your body and modify poses as needed to avoid strain. If back pain persists or worsens, consulting with a healthcare provider is advisable.
Remember, consistency is key to unlock the most out of your yoga practice.
Stick with it!